A couple weeks later, the supplies to make it were on sale, super cheap - more than 50% off! I thought, I want to make more, maybe I could sell them. So I put up an ad on a Facebook Swap and Buy and got 6 orders! Boy did that affirm me. But then I was panicked - what if I get too many orders and can't get the supplies for as cheap as I did? So after some unnecessary anxiety, I decided that I won't launch a business (hey isn't every stay-at-home-mom trying to make a buck from home?) But rather I would write a tutorial about the process so that others may enjoy the beauty. It truly is simple and I figured it out by looking at a picture, but there are a few details that would benefit being explained so you don't have to guess like I did.
First you go to Michaels and buy the following:
A Grapevine Wreath - 18 inches - retails $4.99
A can of Design Master Spray Paint (turquoise is what I used) - retails $12.99 - Krylon is cheaper and fine but more oily and doesn't coat as nicely
Flowers of your choice - 2-3 bunches - retails around $3-12
3 Gerber daisies - patterned ones retail for $2.99 each
Ribbon - retails $4.89 for a 7 yard roll
Card-stock - I had at home
Other tools:
Modge Podge
Hot Glue Gun
Hole Punch
Wire cutters
Needle nose pliers
Scissors
Of course all these things go on sale and can be purchased with coupons - so I encourage you to maximize the coupons and sales and make it for much cheaper.
Pick a nice day and spray the wreath outside. I start with one coat, leave it 15 minutes and spray the other side. Leave it another 15 minutes or so and spray the front side again. I try not to let any brown show and it may need a third coat, but I just do one coat on the back.
Meanwhile you can work on your tags. You can, for ease, print off a design and put it on card-stock, but I like the layered effect.
I print of my initial on card-stock using Georgia font in size 200. I set the font settings to Bold, with a grey outline and no fill.
I carefully cut it out and use an exacto knife if there is an inner circle.
I make 2 circles out of card stock using an item from around the house to get the shape. I also use a heavier cardboard to make a backing so it doesn't curl. then I Modge Podge everything together and let dry.
I use a hold punch to make a bunch of dots and glue them around the perimeter of the first circle. This seems finicky but I love the effect. After it is dry I put another layer of Modge Podge on top to seal it and give it a nice gloss.
When the wreath is dry (I like to leave it outside for a day if possible so it doesn't stink like spray paint.)
Get your flowers ready and plug in a hot glue gun. Also get out the needle nose pliers and wire cutters.
I push all the foliage back from the flower stems and snip off the individual flowers leaving a few inches of stem to work with. I put them through the wreath and then use the needle nose pliers to twist and work the stems into the wreath to secure them. Some flowers may come off the stem in which case they can be hot glued on.
I add the larger gerber daisy accents last and pop them right off the stem. I use a large dollop of hot glue and hold them in place.
Finally I cut about 4 feet of ribbon to ty around the top. I tie a double bow and snip the ends into a V. I punch a hole in the initial tag and tie the ribbon (about 2 feet) through the top ribbon and tie with a single bow.
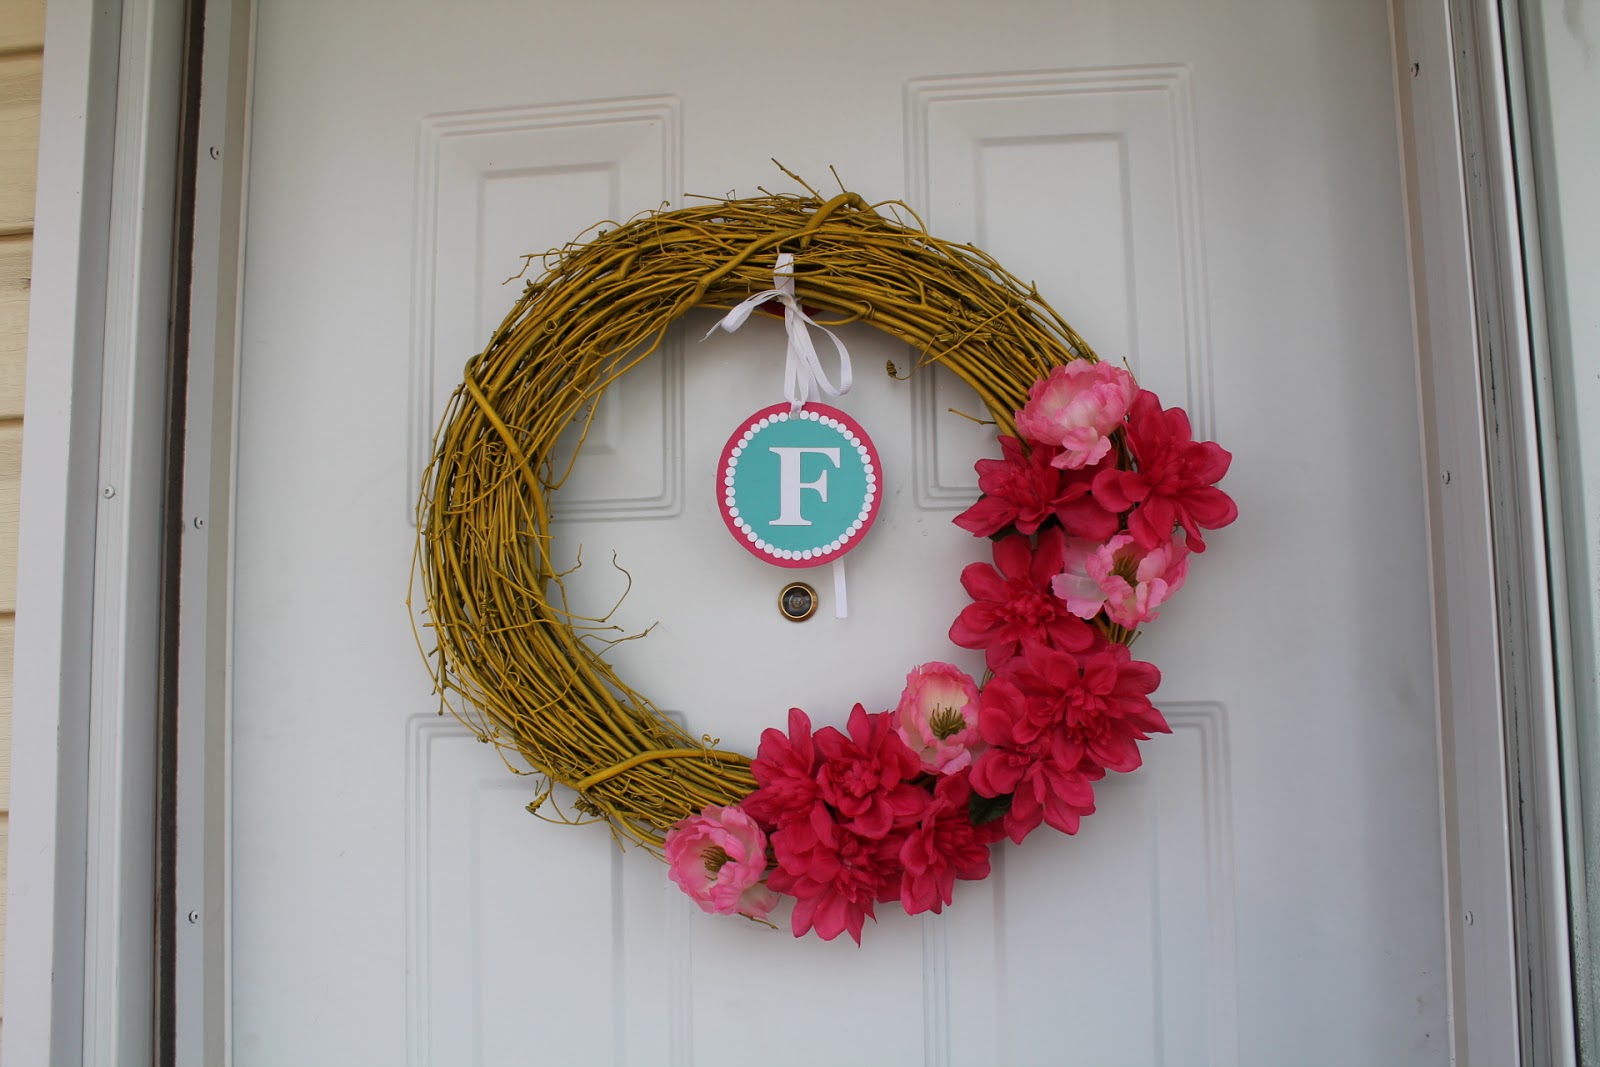
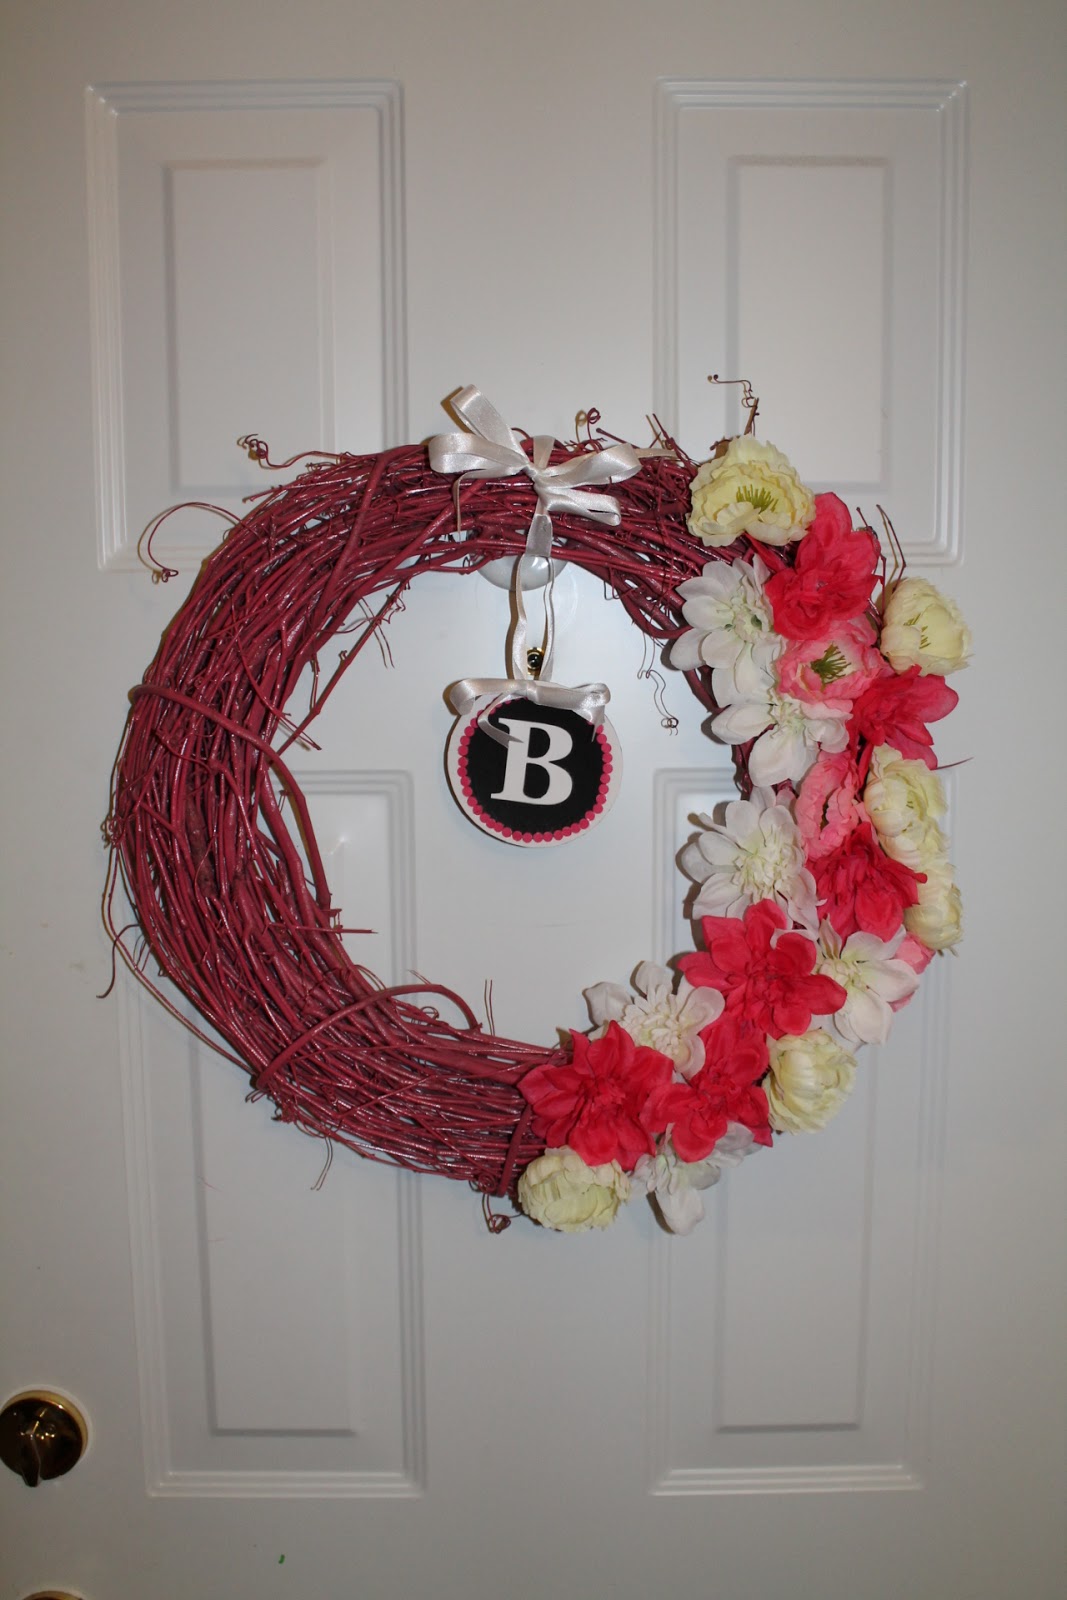
Here are a few of the more unique designs that I've made. It was fun to have people make requests and get to be a little creative with designing. The possibilities are endless. There maybe be fall wreaths in the future.


With a Barrel and a Heap of Crafting Fun,
Stephanie
Another shout out to Gail for the original inspiration - http://boutiqueginabeana.blogspot.ca/2011/03/birthday-gift.html
Check out my sister-in-law's blog about our crafting time - The Yellow wreath with "F" is hers
http://www.blessedlifeatopacakestand.com/2013/04/sunny-spring-wreath.html


I really like that blue one up against the burgandy!
ReplyDeleteI LOVE mine! Looks really good on my white door too!
ReplyDelete