I should also note that I have started making my cakes smaller (as I was throwing a lot out after a kid's party), and we use store bought fondant now (from Bulk Barn), what a time/energy saver with consistent results!
So in order of creation here they are...
Gavin's First Birthday - Giraffe - using doweling and Rice Krispies

My Aunt's Wedding Cake - my Mom (also made some cakes in her time) did the piping with Royal icing
Gavin's Second Birthday - Thomas the Train - using a Wilton Train Cake Pan
Amia's First Birthday - Pretty Girl - Using sugar cookies around the border and scrap-booking flowers on wire coils for a pop
My Friend's Wedding Cake - Again, my Mom did the piping - Real flowers and ribbon (who says everything has to be edible, it looks nice!)
Gavin's Third Birthday - Bob and Larry from Veggie Tales - used half a Wilton ball pan and a loaf pan on top of a slab cake covered with Swiss Meringue Butter-cream
My Mom and Dad's 50th Birthday Cake - on a Ski Hill
Amia's Second Birthday - Strawberry Shortcake
Gavin's Fourth Birthday - One Spider Man with fondant for family and one with butter-cream stars for friends
Amia's Third Birthday - Princess castle - Towers made out of Rice Krispies with ice-cream cones on top
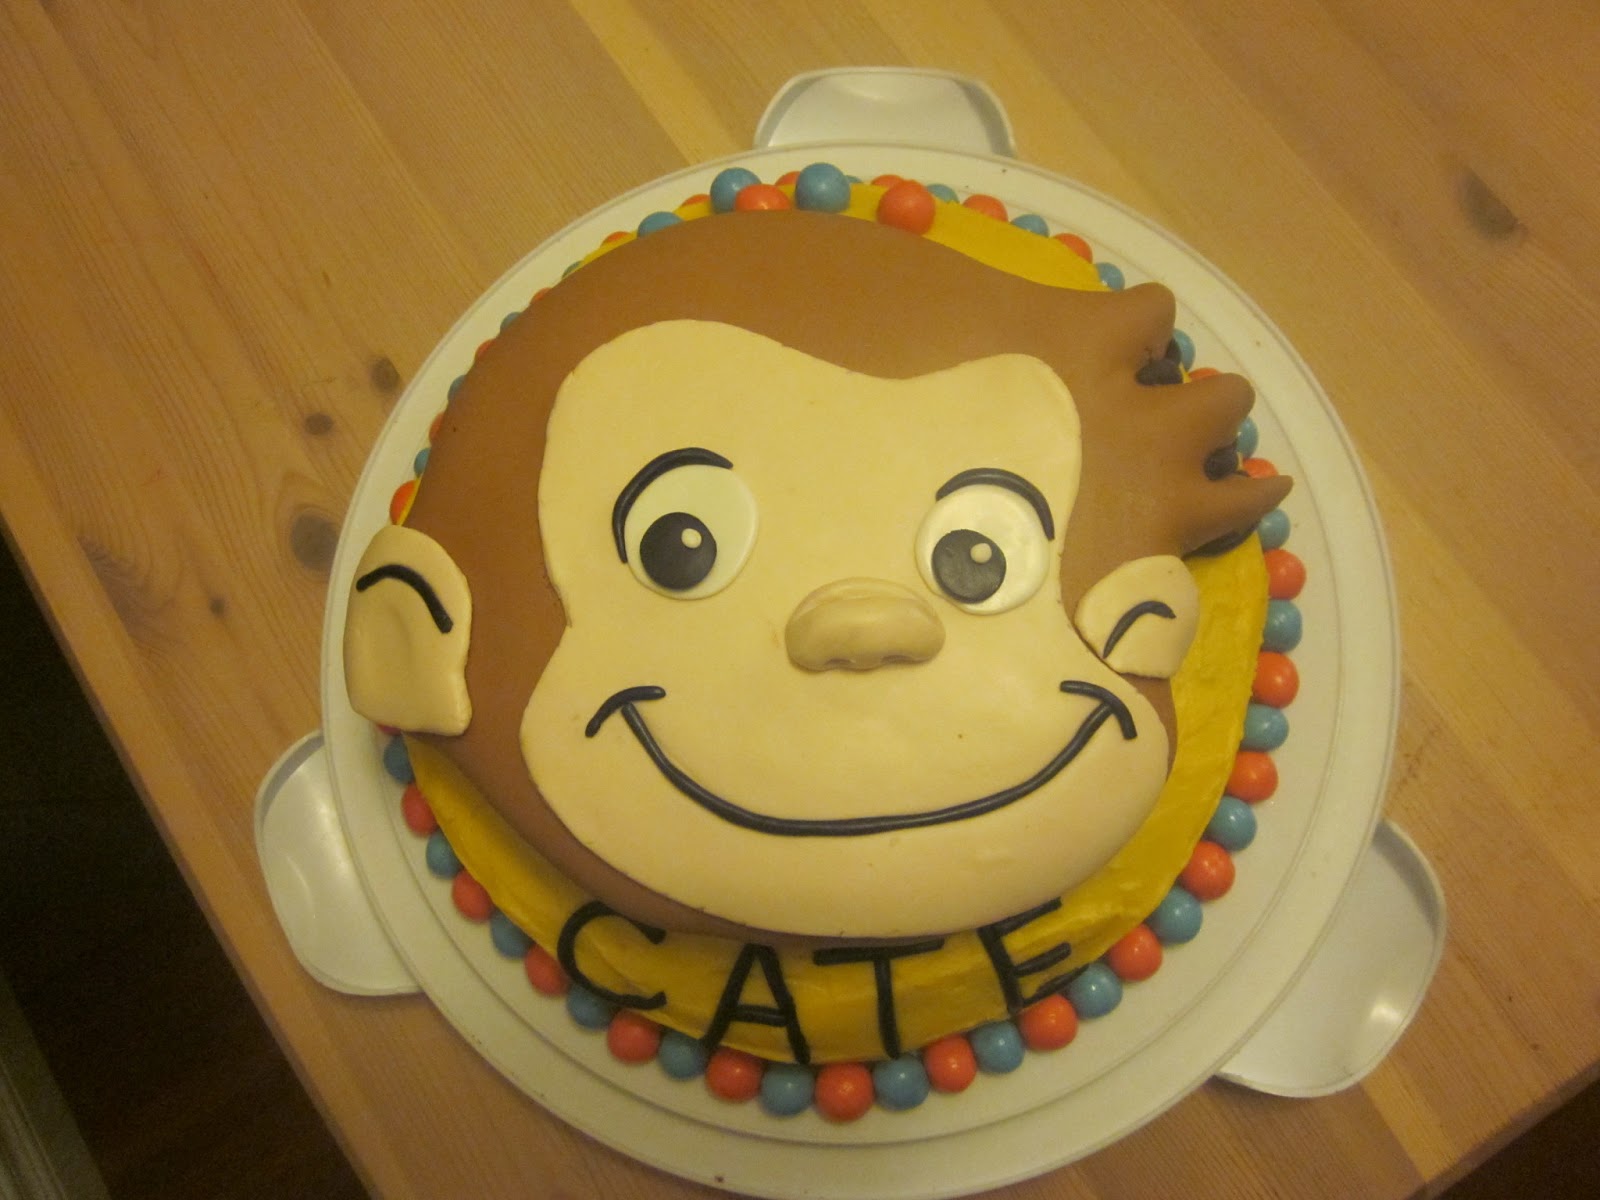
Cate's First Birthday - Curious George for my little monkey
Gavin's Fifth Birthday - Super Mario Cake and Cake Pops - my first attempt at table-scaping and the theme parties are getting more elaborate

Amia's Fourth Birthday - Barbie - using a Wilton Doll Pan - more fun with Table-scaping (thank-you Pinterest)
Cate's Second Birthday - Elmo - Wilton Cake Pan
Gavin's Sixth Birthday - Kung Fu Panda - was going to try to keep it simple but he starting requesting things like the Chinese flag and the Great Wall and here is what we got
I also made a rainbow cake for family and I was so excited about this one so here are the steps...
First I made the cake batter and coloured it in 6 different colours. I started with red and poured it in the middle and then poured in each subsequent colour in the middle, slowly to give the colours time to spread to the outer edge. The effect was great, but if I did it again I would make more red because it got lost by the end.
I then cut the cakes in half and stacked them using butter cream to look like a rainbow
then I decorated using stars on top and this fun ruffle effect on the edges
It tasted so good too as it was my first time using my sister-in-law's White Almond Cake recipe. If she ever posts it to her blog I will link it.
Ella's First Birthday Cake - 3 - 6" layers covered in butter cream with an ombre effect and cute little fondant elephant. I love this technique with the ruffles, it is easy (once I was shown how to do it properly).
Cate's Third Birthday - Under the Sea/Mermaid Party - 6 inch cake with butter cream and fondant Mermaid tail
This was such a fun party - I plan to blog more about the details soon
A final note on cake making - it is a big undertaking! I like to do it when not distracted by kids or kids getting hands in it - but then like I said, I'm up till midnight. I love the finished effect (sometimes it's not as good as I want but I try to remember that it's still special). In the future I hope to find a way to avoid doing a friend's party cake, a family party cake and preschool cake pops in a three day time frame (talk about a birthday taking over my life!) But the precedent has been set so I'll do it for the younger kids too. This is something special I choose to do for my kids as a memory/ to make their day special. But I get that it's not for everyone and not necessary to be a good mom. If you are up for a challenge though - have fun, and don't worry if it's not perfect (icing covers a multitude of crumbly cake sins ;o) On that note, do not use a cake box as the recipe is written on the box - find a recipe online that adapts a cake box (necessary for a moist cake) but makes it denser so that it holds up to your cutting, stacking and icing.
With a Barrel and a Heap of Sweetness,
Stephanie


.JPG)


No comments:
Post a Comment